It’s been a few months but the Hyundai Veloster N rebuild project has been making good progress. Today it is time for the third episode, hope you guys enjoy it!.
Frame Damage
After taking off the the wipers and top cover, the Veloster N took a hard enough hit where the driver side frame was bent. Normally if its a little tweaked its no big deal but in this case the hit was so hard that it pushed the driver side frame several inches. After some quick googling and calling nearby shops. I was lucky to find a frame shop that was willing to take the car in the next day. I rushed it on a trailer and delivered it to the shop the next day. The frame shop did not disappoint, the body was straightened and with was ready for pick up in less than a week. Although it was not cheap, ($1,200 USD) I was glad to have the car done knowing i would not have to fight for parts to fit right.
The Search for parts
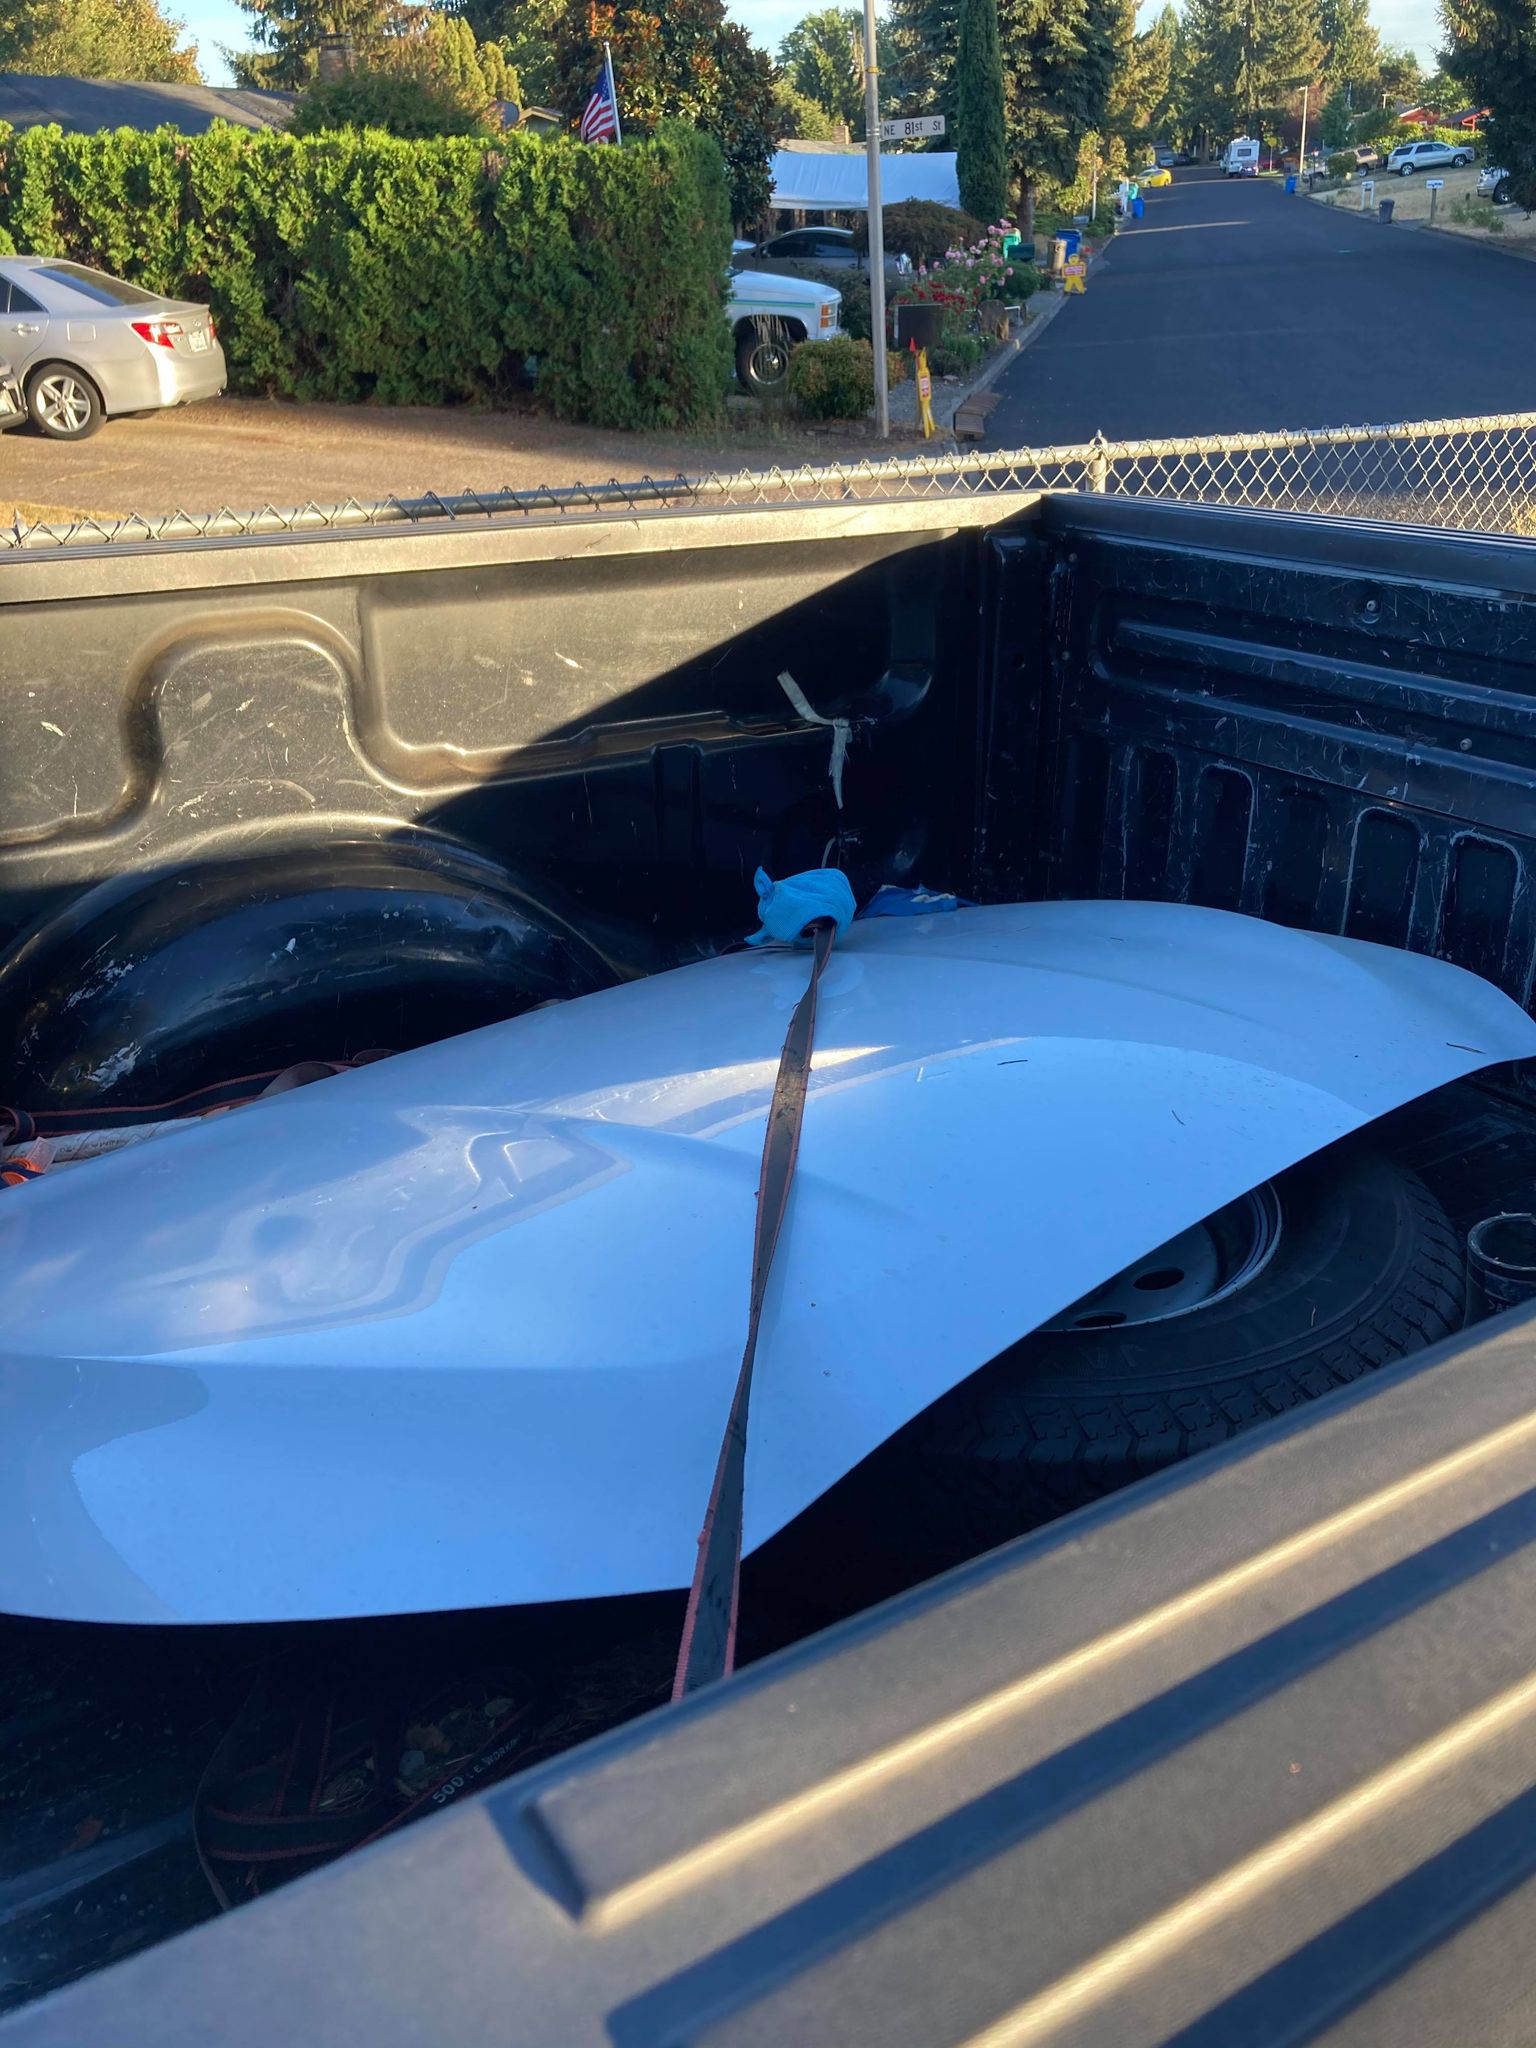
One of the hardest parts in the rebuild is finding parts for the car, thankfully the KDM community is so tight that friends reached out to me with leads of people who had OEM parts available. I was lucky to find individual who replaced his hood and fenders with Carbon fiber parts and was looking to sell his OEM parts that were the same color as the N saving me time and money in paint. A quick trip to California from Washington I met with dear friend and fellow N owner Josh of KDM tuners who held the hood and fenders for me until i was able to pick them up and drive back to Washington state. In addition, Josh had a bunch of spares from his Veloster N that he kindly gave to me to help with the project. Furthermore, another dear friend Greg from SoCal Garage Works who has one of the most beautifully built Veloster Ns in North America also reached out to me and gave me his OEM engine/intake parts that he replaced with his after aftermarket goods. Needless to say i am blessed with good friends. The remainder of the parts were obtained via ebay and local dealer since it was hard to get them anywhere else.
The Progress
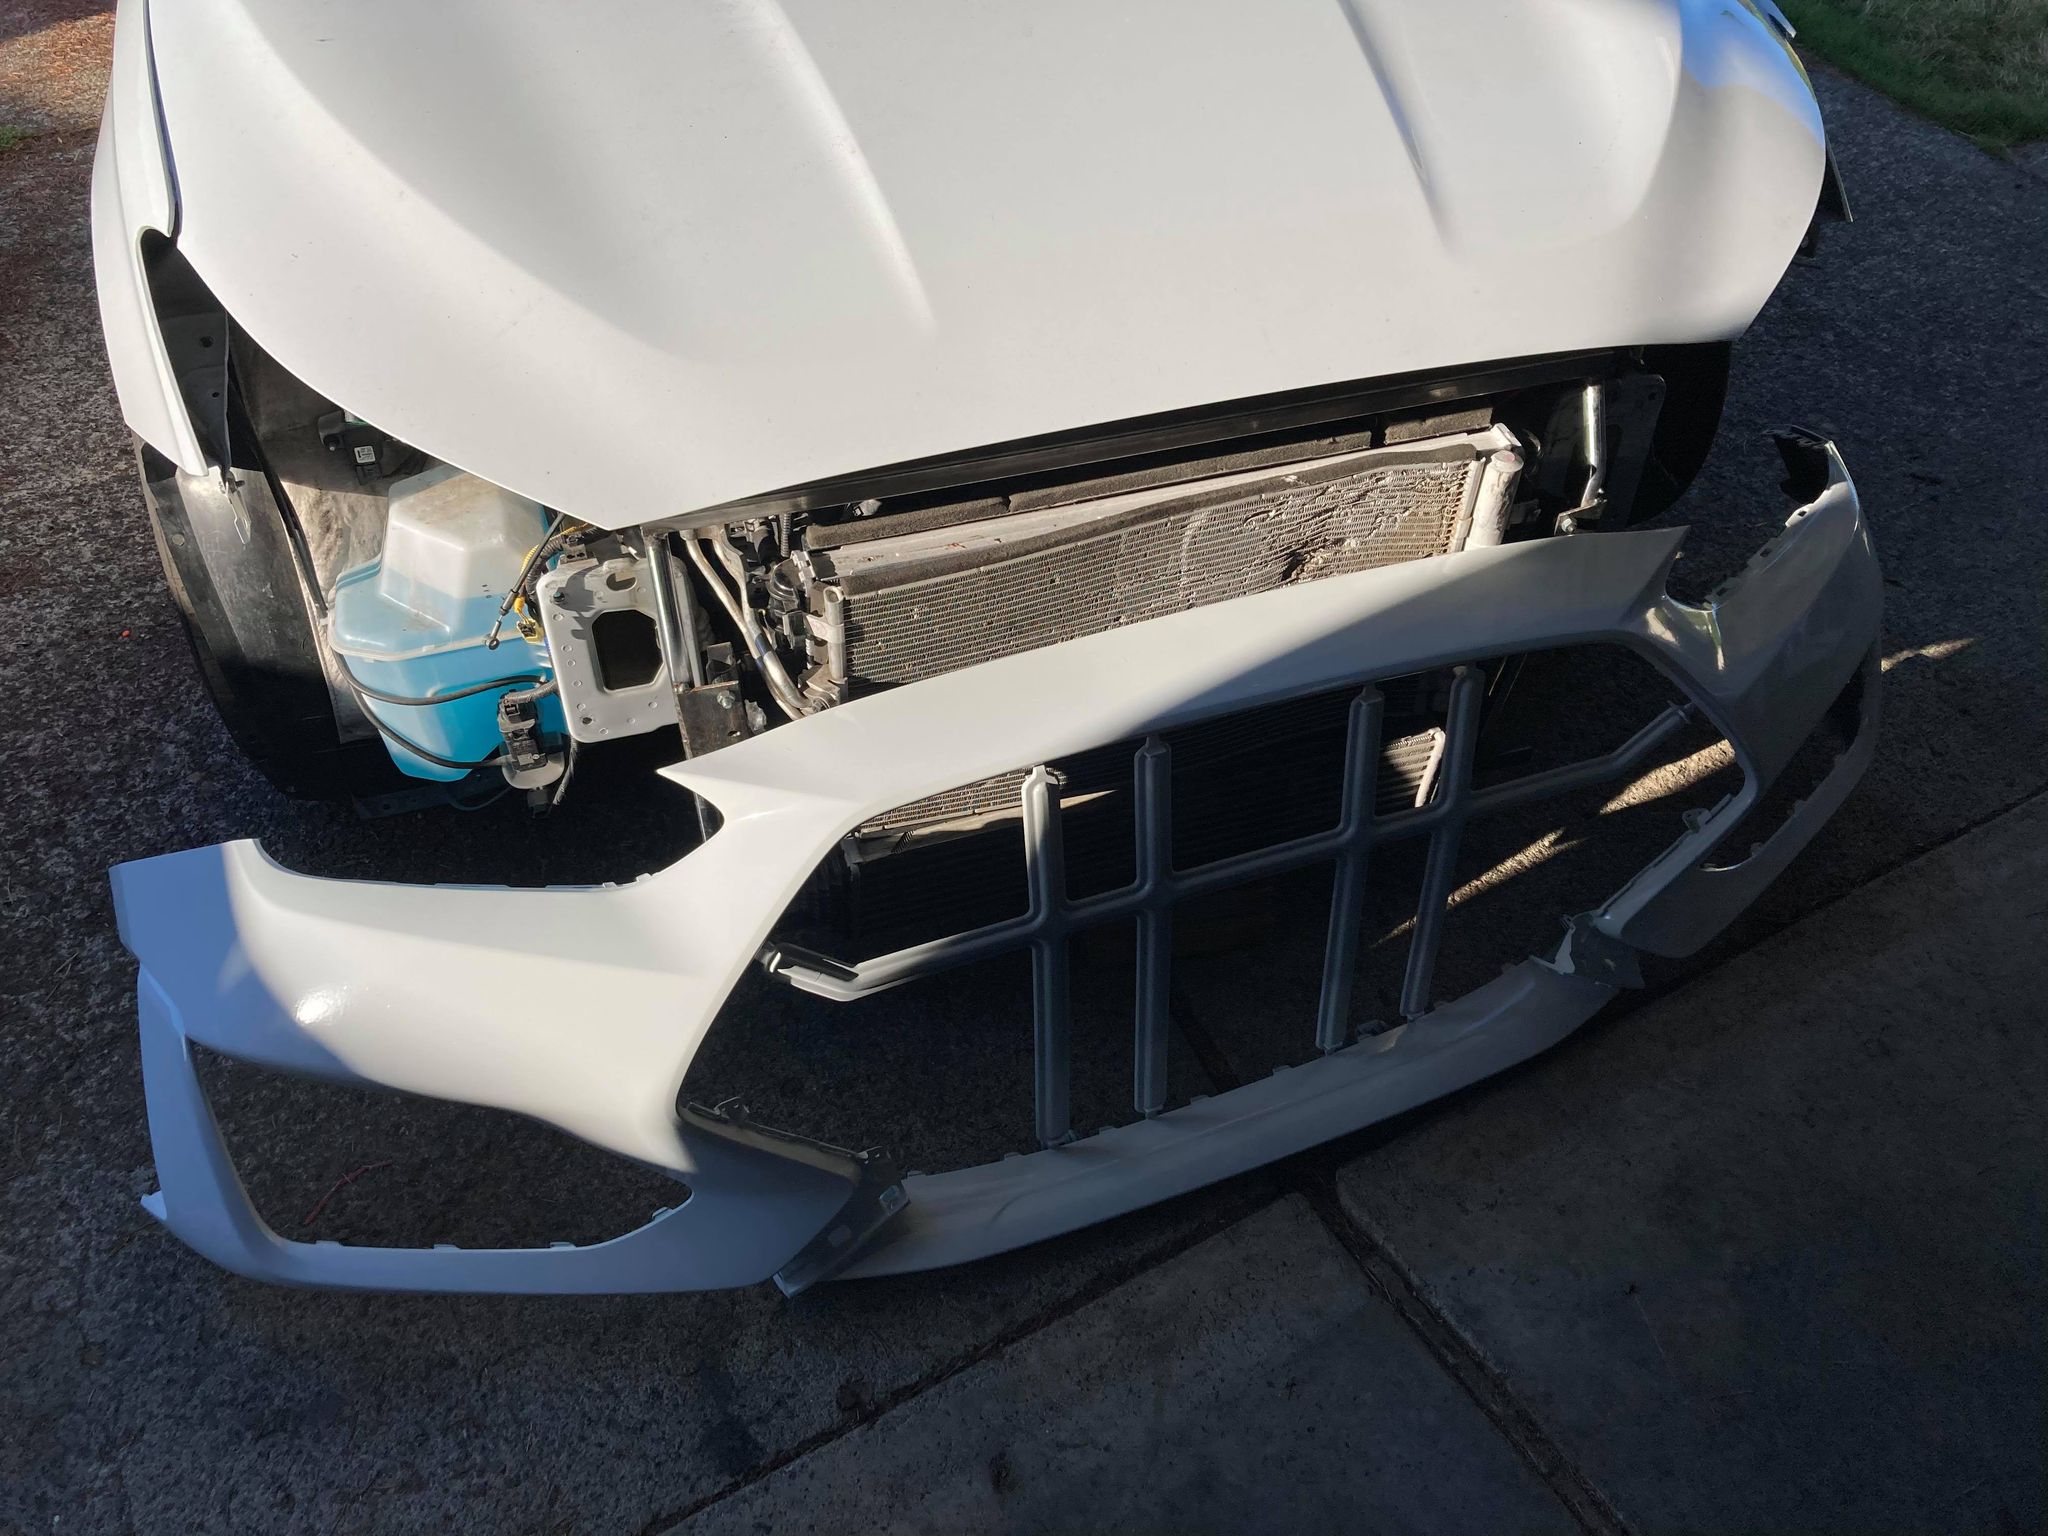
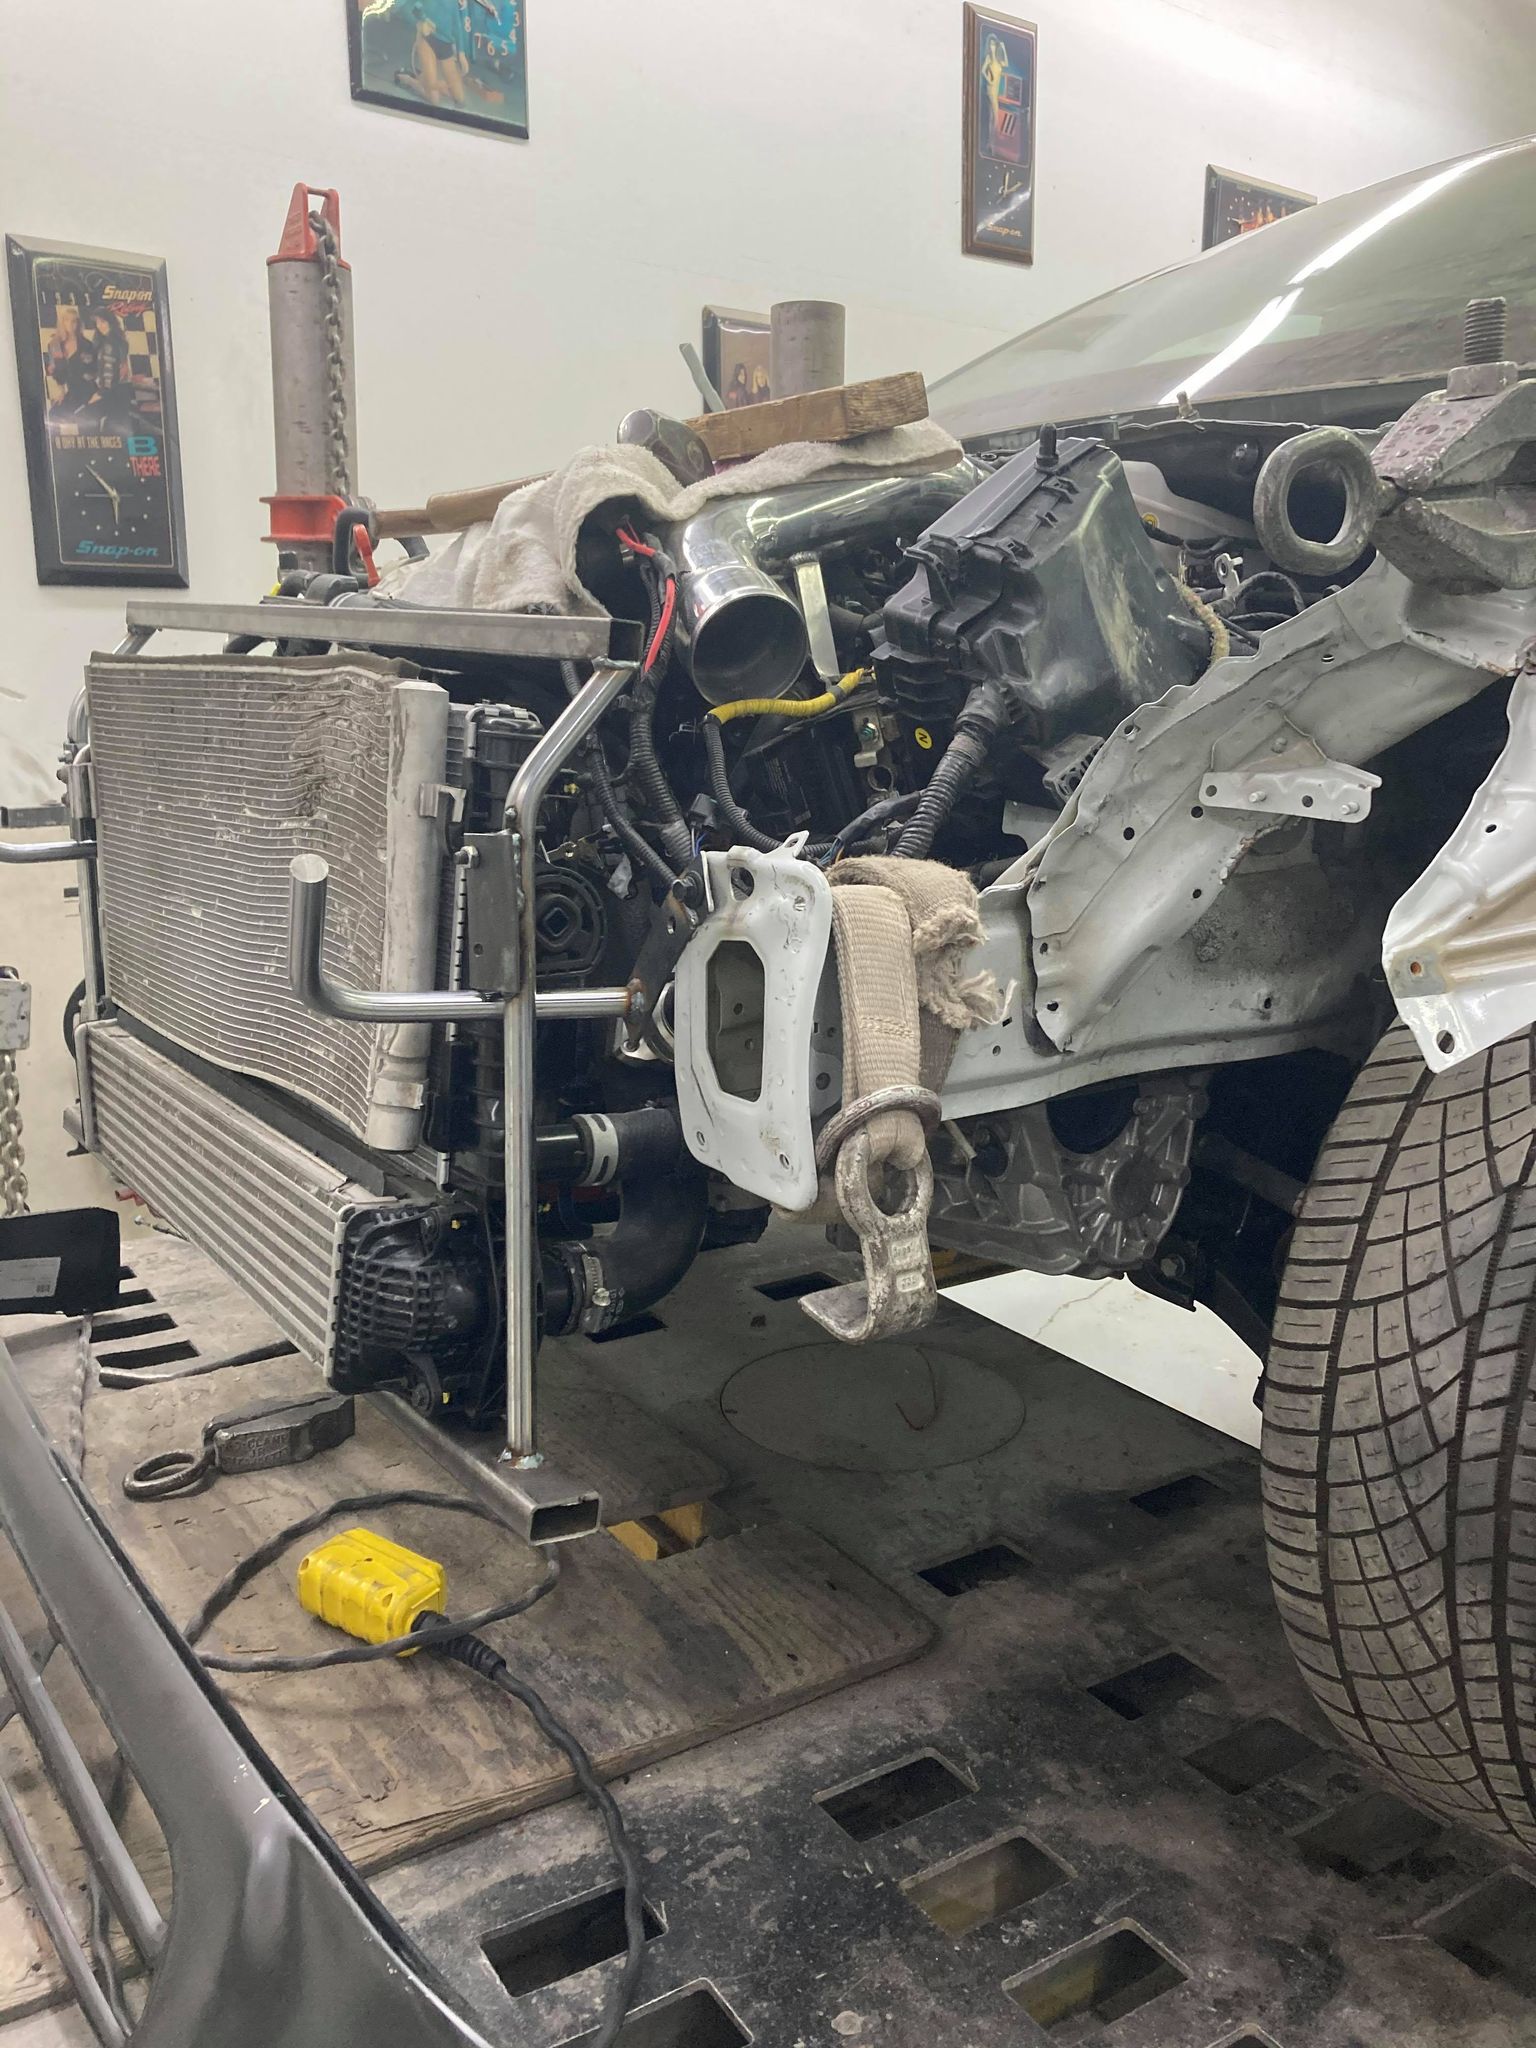
With parts available I continued the repair, since i knew there were going to be delays, one of the first things i did was remove the engaged seat belts to have them rebuilt by a reputable vendor. Since the N seat belts are super expensive it was the cheaper route while maintaining safety. I removed the damaged fenders exposing cracked welds in the body that I welded to reinforce, then put the new ones which fit perfectly. The new hood was a bit of a fight since i had to adjust the hood hinges so the gap between the hood and fender is even on both sides. Thanks to ebay I was able to find a OEM fan shroud that was slightly damaged, using a heat gun I heated the plastic to the point that i could straightened it so it does not hit the fan. I needed a new fan blade but was able to salvage the fan motor which was the most expensive part. With the fan, radiator and inter cooler assembly assembled I can now gauge where i will build the custom core support and crash bar which will come next time…
Stay tuned….